Wednesday, November 28, 2012

Laying it Down

With the work on the rest of the kitchen complete now came the difficult part figuring out how to fit the units. We had some idea of how it was going to go, but we came up with several options. A one point we had looked at IKEA kitchen units but when we worked out the price we nearly fainted.

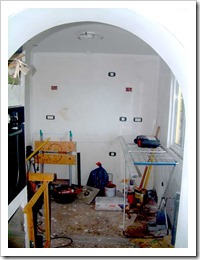
So after some backwards and forwards and scratching of heads we came up with a design. To check that it would work and that we would have enough room to move around in the kitchen we put together a rough layout using drying racks, bits of string, etc.
DSCF4207

Thursday, October 11, 2012

The Doors

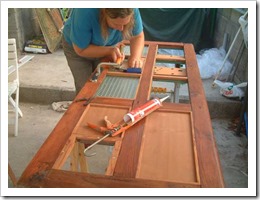
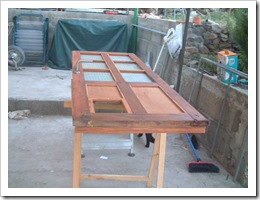
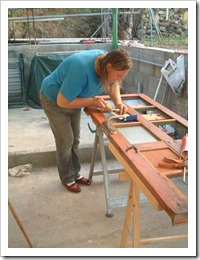
One thing we wanted to complete before the winter rains came was the back or kitchen door, this not only needed stripping of paint, but also all the glass had to be taken out and refitted using new bits of wood that we had cut and prepared. So with all that done Helen began the tricky task of refitting all the glass, one slip and the glass could smash and we didn’t have any spare.

DSCF4200

Also the panels at the lower half of the door were badly damaged so we used some flat panels of wood to cover them on the inside.

DSCF4199 Also at this point a new lock and handle we fitted, so the door can be locked with a key instead of the bolts that it had before.

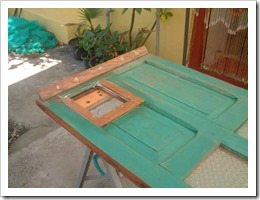
 DSCF4203 On the outside of the door we fitted a strip to push the water off the step and rebuilt the hole and fitted a completely new cat flap.

DSCF4204

Monday, October 01, 2012

Oven Ready

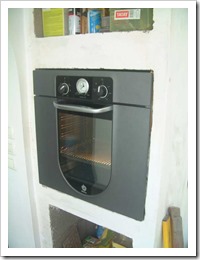
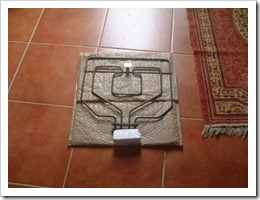
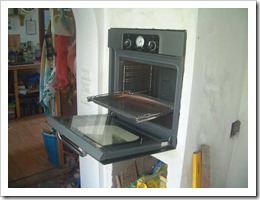
About two weeks ago we thought we were about to have a momentous moment, the kitchen wiring was all done, and all that we had to do was install the oven that we had purchased about a year after we arrived.DSCF4195 So we unwrapped the oven connected a plug an turned it on. so far so good. We started to run the oven for an hour as the instructions stated, but after 5 minutes it blew the leakage trip. We investigated and discovered that the insulation on the top element was failing. Running the oven with the element disconnected seemed to fix it, but after leaving it to stand overnight, the problem returned.
So after a bit of hunting on the web I was able to find the local service dealers and a few weeks and 40€ later we had a new element. DSCF4198 This was soon fitted and now the oven is installed and functioning perfectly. Now I can by a chicken without worrying if it will fit.

DSCF4197

Tuesday, September 18, 2012

Step, Lights, Action.

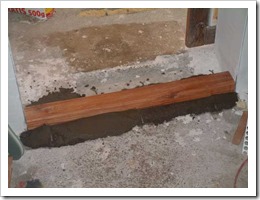
To make the difference in the floor levels between the main part of the house and the kitchen less of a problem, we decided to put in a step. So using one of the old lintels from a door we cleaned it and routed it to make a step.

DSCF4185

Then mounted on a bed of cement at the correct height in the archway.

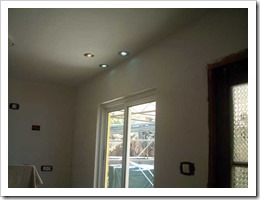
DSCF4187 meanwhile the wiring has gone in and we have lights, after a few trips trying to find a good set of matching light fittings.

DSCF4188

Over the kitchen sink….

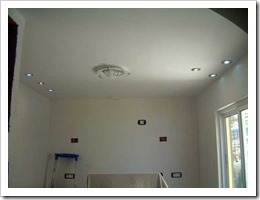
DSCF4191 And a view of the whole ceiling, there is a glass fitting which goes over the centre light.

Saturday, September 01, 2012

Over arching

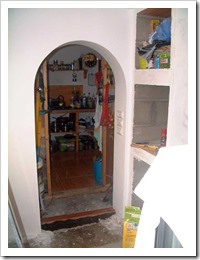
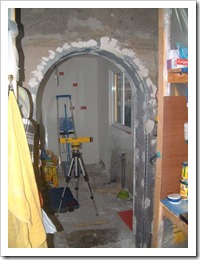
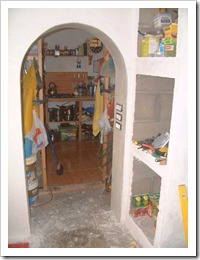
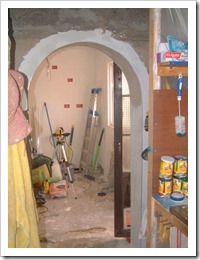
With the kitchen rendering sorted attention then shifts to the entrance to the kitchen from the rest of the house. We cast an arch in concrete and now was the time to make it look nice with a coat of render.DSCF4179

First we added some metal edging strips so that we get nice clean corners and some netting to give the render something to bind to and prevent cracking.

DSCF4181

Then it’s just a simple matter of applying the render.  Gradually building up over a couple of days until it’s complete.

DSCF4184

DSCF4183

Wednesday, August 29, 2012

Finishing off

Just a couple of bits to tidy off and the kitchen is rendered.

DSCF4177

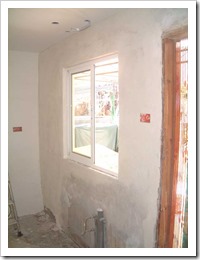
The window wall.. lower half wasn’t too bad and will be under the cabinets so we left it as is…

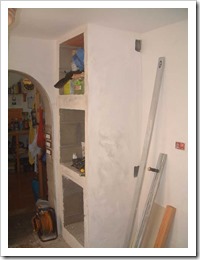
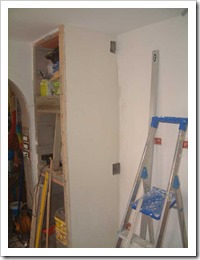
DSCF4178 Front face of the oven unit complete.

Saturday, August 25, 2012

Round the Corner

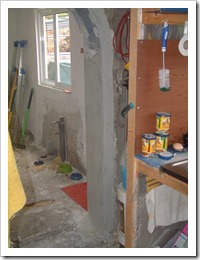
With the shelves complete and drying, the side and the fronts of the unit need to be rendered.

DSCF4176

First the side gets a bit of wood screwed to the edge to guide the depth of the render, which then is applied